Roller chains are widely used in various industries to efficiently transmit power. However, sometimes removing or installing a roller chain can be a challenging task. That’s where roller chain pullers come into play! In this blog, we will guide you through the step-by-step process of using your roller chain puller effectively, ensuring a hassle-free experience. So, let’s take a deeper look!
Step 1: Gather the Necessary Tools
Before you start, gather the tools you need to complete the task. In addition to a roller chain puller, you’ll need a pair of safety goggles, gloves, and a lubricant designed for roller chains. Having these tools on hand will help keep you safe and facilitate the process.
Step 2: Prepare the Roller Chain Puller
First, make sure your roller chain puller is in good condition and properly lubricated. Lubrication helps reduce friction and prolongs the life of your chain and puller. Apply a small amount of chain lubricant to the puller following the directions provided by the manufacturer.
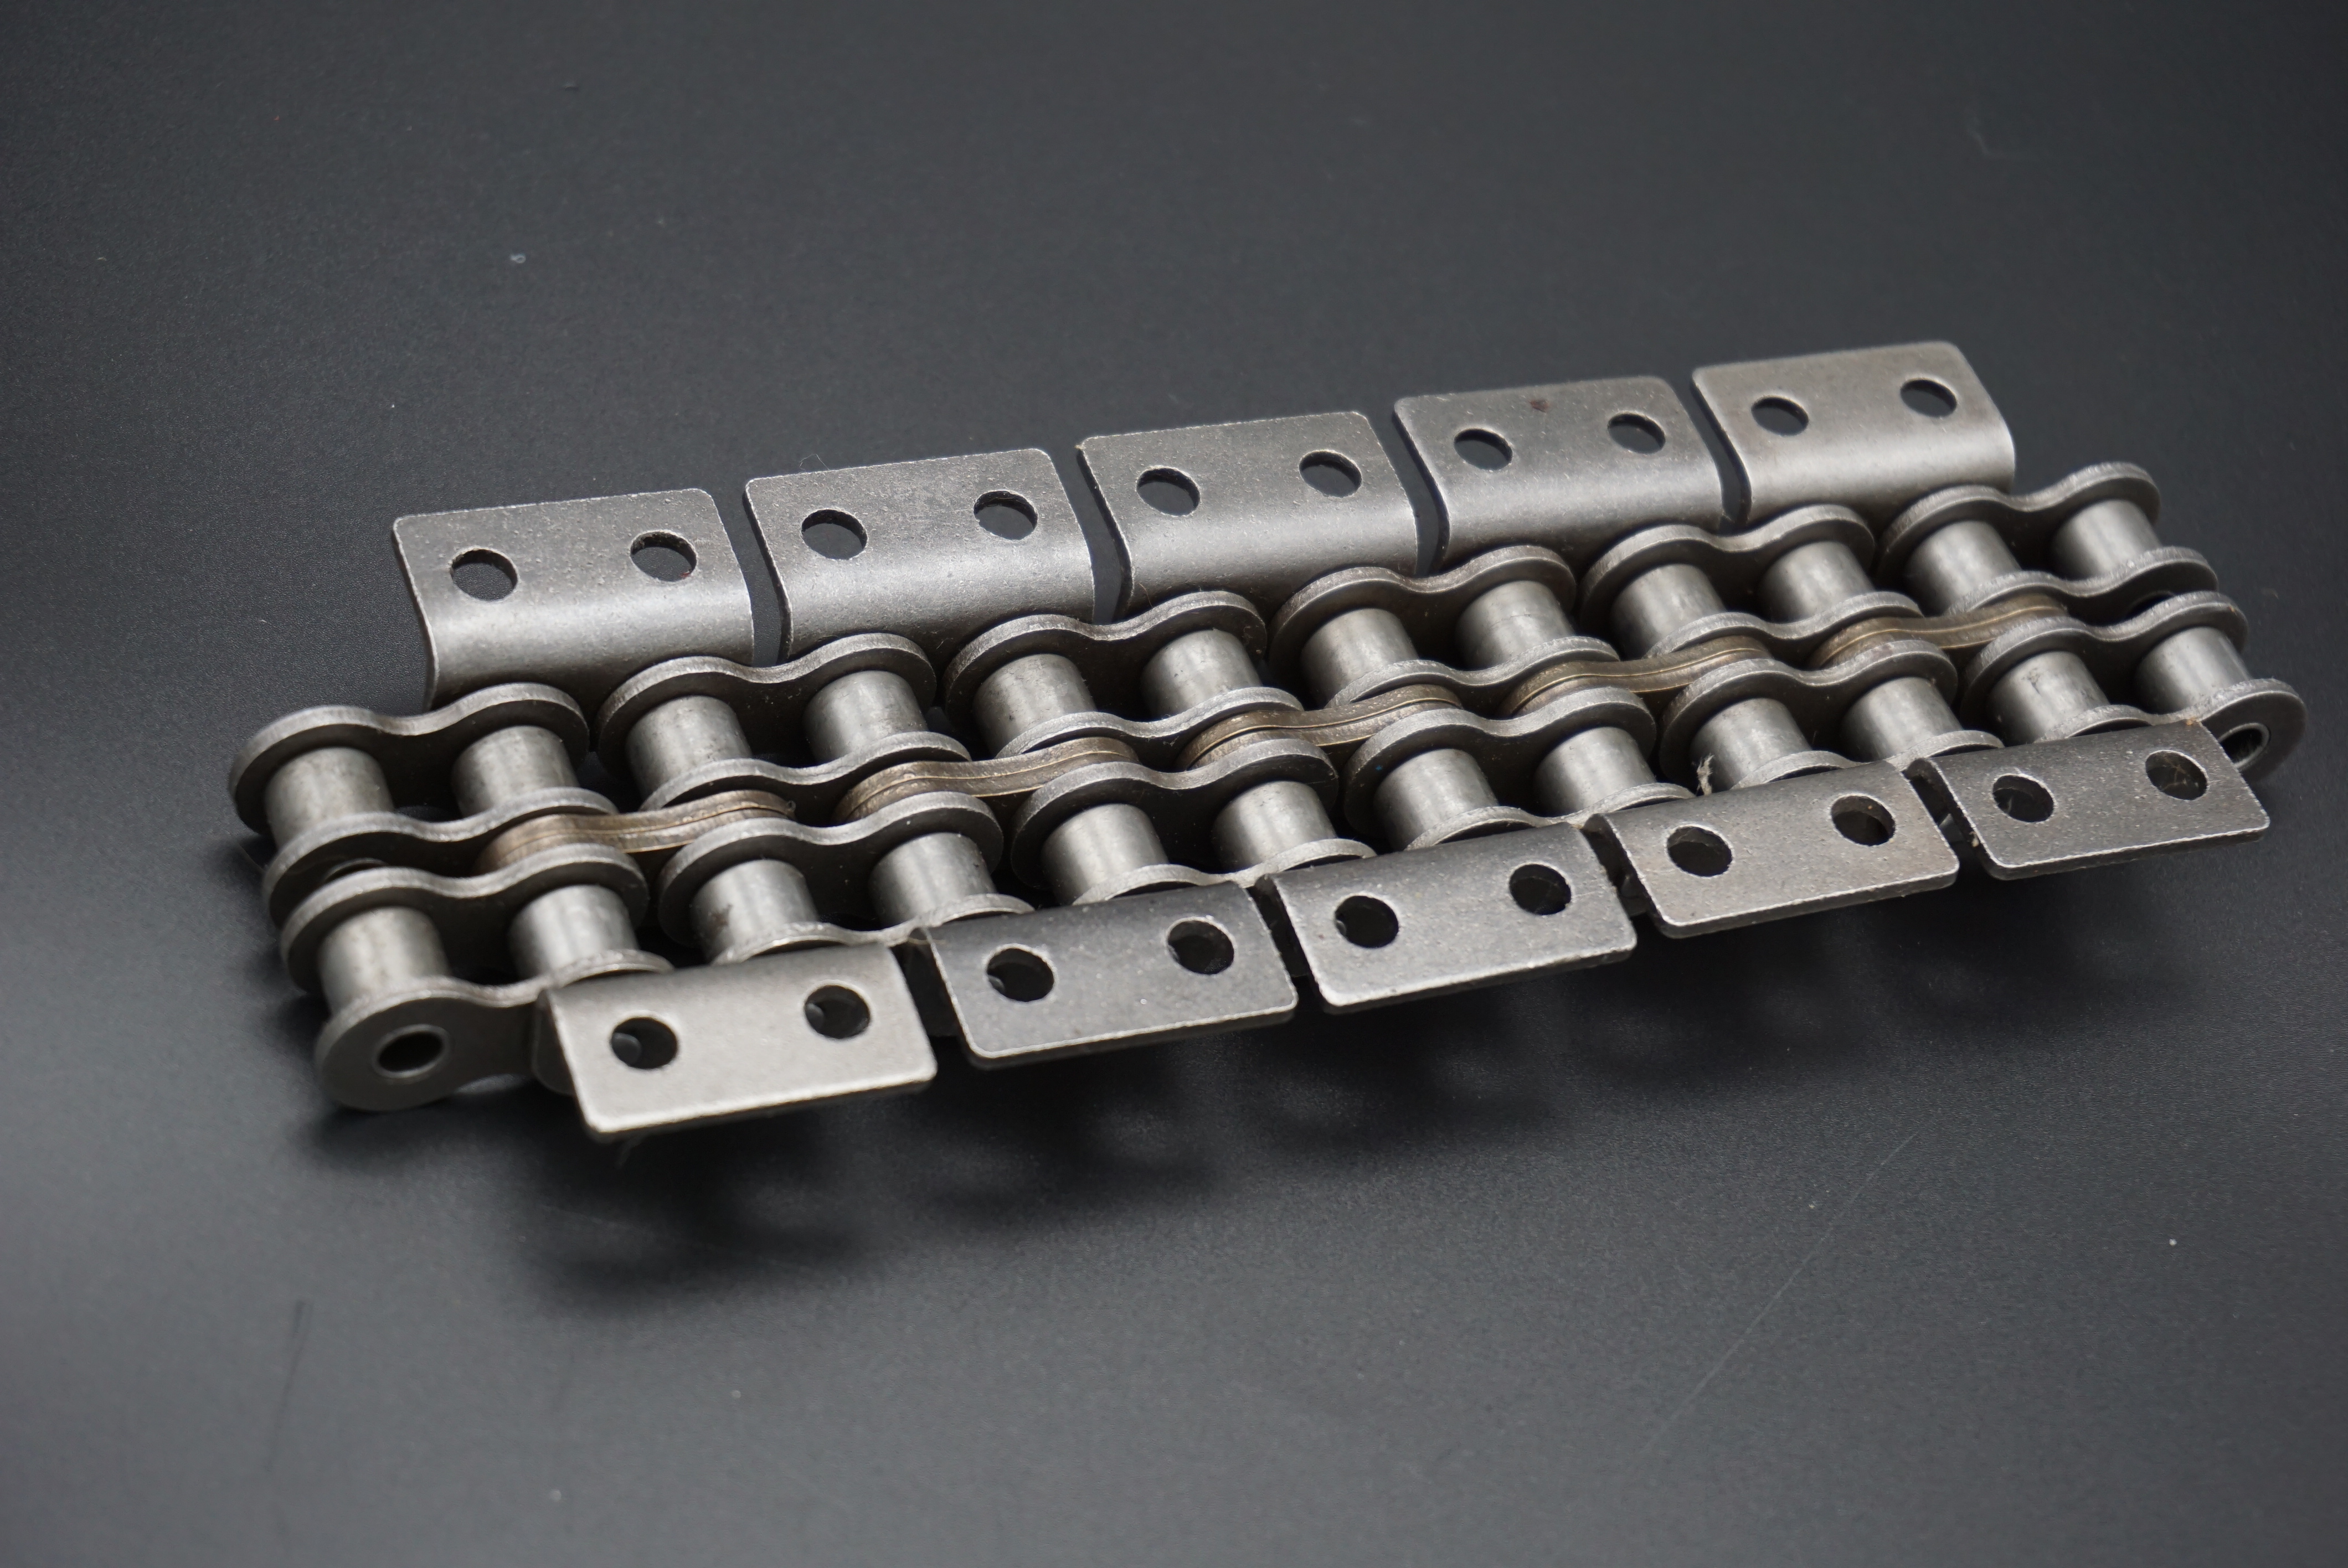
Step 3: Identify the main link
Roller chains usually consist of two ends connected by master links. The main link is recognizable because it has a different appearance from the other links. Look for clips or plates that hold the master links together. This link will be used to break away from the roller chain.
Step 4: Prepare the derailleur
Adjust the roller chain puller to the size of the roller chain. Most pullers have adjustable pins that can be retracted or extended to accommodate different chain sizes. Make sure the pins are properly aligned with the outer plate of the chain to avoid damage.
Step 5: Place the derailleur
Place the chain puller on the roller chain, aligning the pin with the chain’s inner plate. Make sure the puller is perpendicular to the chain to provide maximum engagement for an effective pulling action.
Step 6: Enable the main link
Bring the pin of the puller into contact with the master linkage. Turn the handle clockwise to apply forward pressure on the puller. The pins should go into holes or slots in the main link plate.
Step 7: Apply Tension and Remove Chain
As you continue to turn the puller handle, the pin will gradually push on the master link, disengaging it. Make sure the chain remains stable during this process. Apply tension to the chain to minimize sudden loosening or slipping.
Step 8: Remove the derailleur
After the master links are separated, stop turning the handle and carefully remove the chain puller from the roller chain.
Proper use of roller chain pullers can greatly simplify the process of removing or installing roller chain. By following the step-by-step instructions outlined in this guide, you can easily use a roller chain puller and perform chain-related tasks with ease. Remember to prioritize safety, maintain proper lubrication, and handle pullers with care. With practice, you will become proficient at using roller chain pullers effectively and efficiently. Happy chain maintenance!
Post time: Aug-03-2023