Welcome to our comprehensive guide on how to time your size 100 roller chain for optimum efficiency and function. In this blog, we will provide you with a detailed step-by-step approach to ensure that you can confidently synchronize your roller chain to improve its performance and extend its life.
Understanding Roller Chain Timing
Roller chain timing is the process of precisely aligning the motion of the chain with the rotational motion of the sprockets on which it runs. This synchronization ensures proper chain placement, minimizing wear, maximizing power transfer, and reducing the risk of breakdowns and breakdowns.
Step 1: Gather the Necessary Tools
Before starting the timing process, the required tools must be collected. These usually include a wrench or socket set, calipers for measuring, and a chain break tool for adjusting chain length (if necessary).
Step 2: Check the Chain
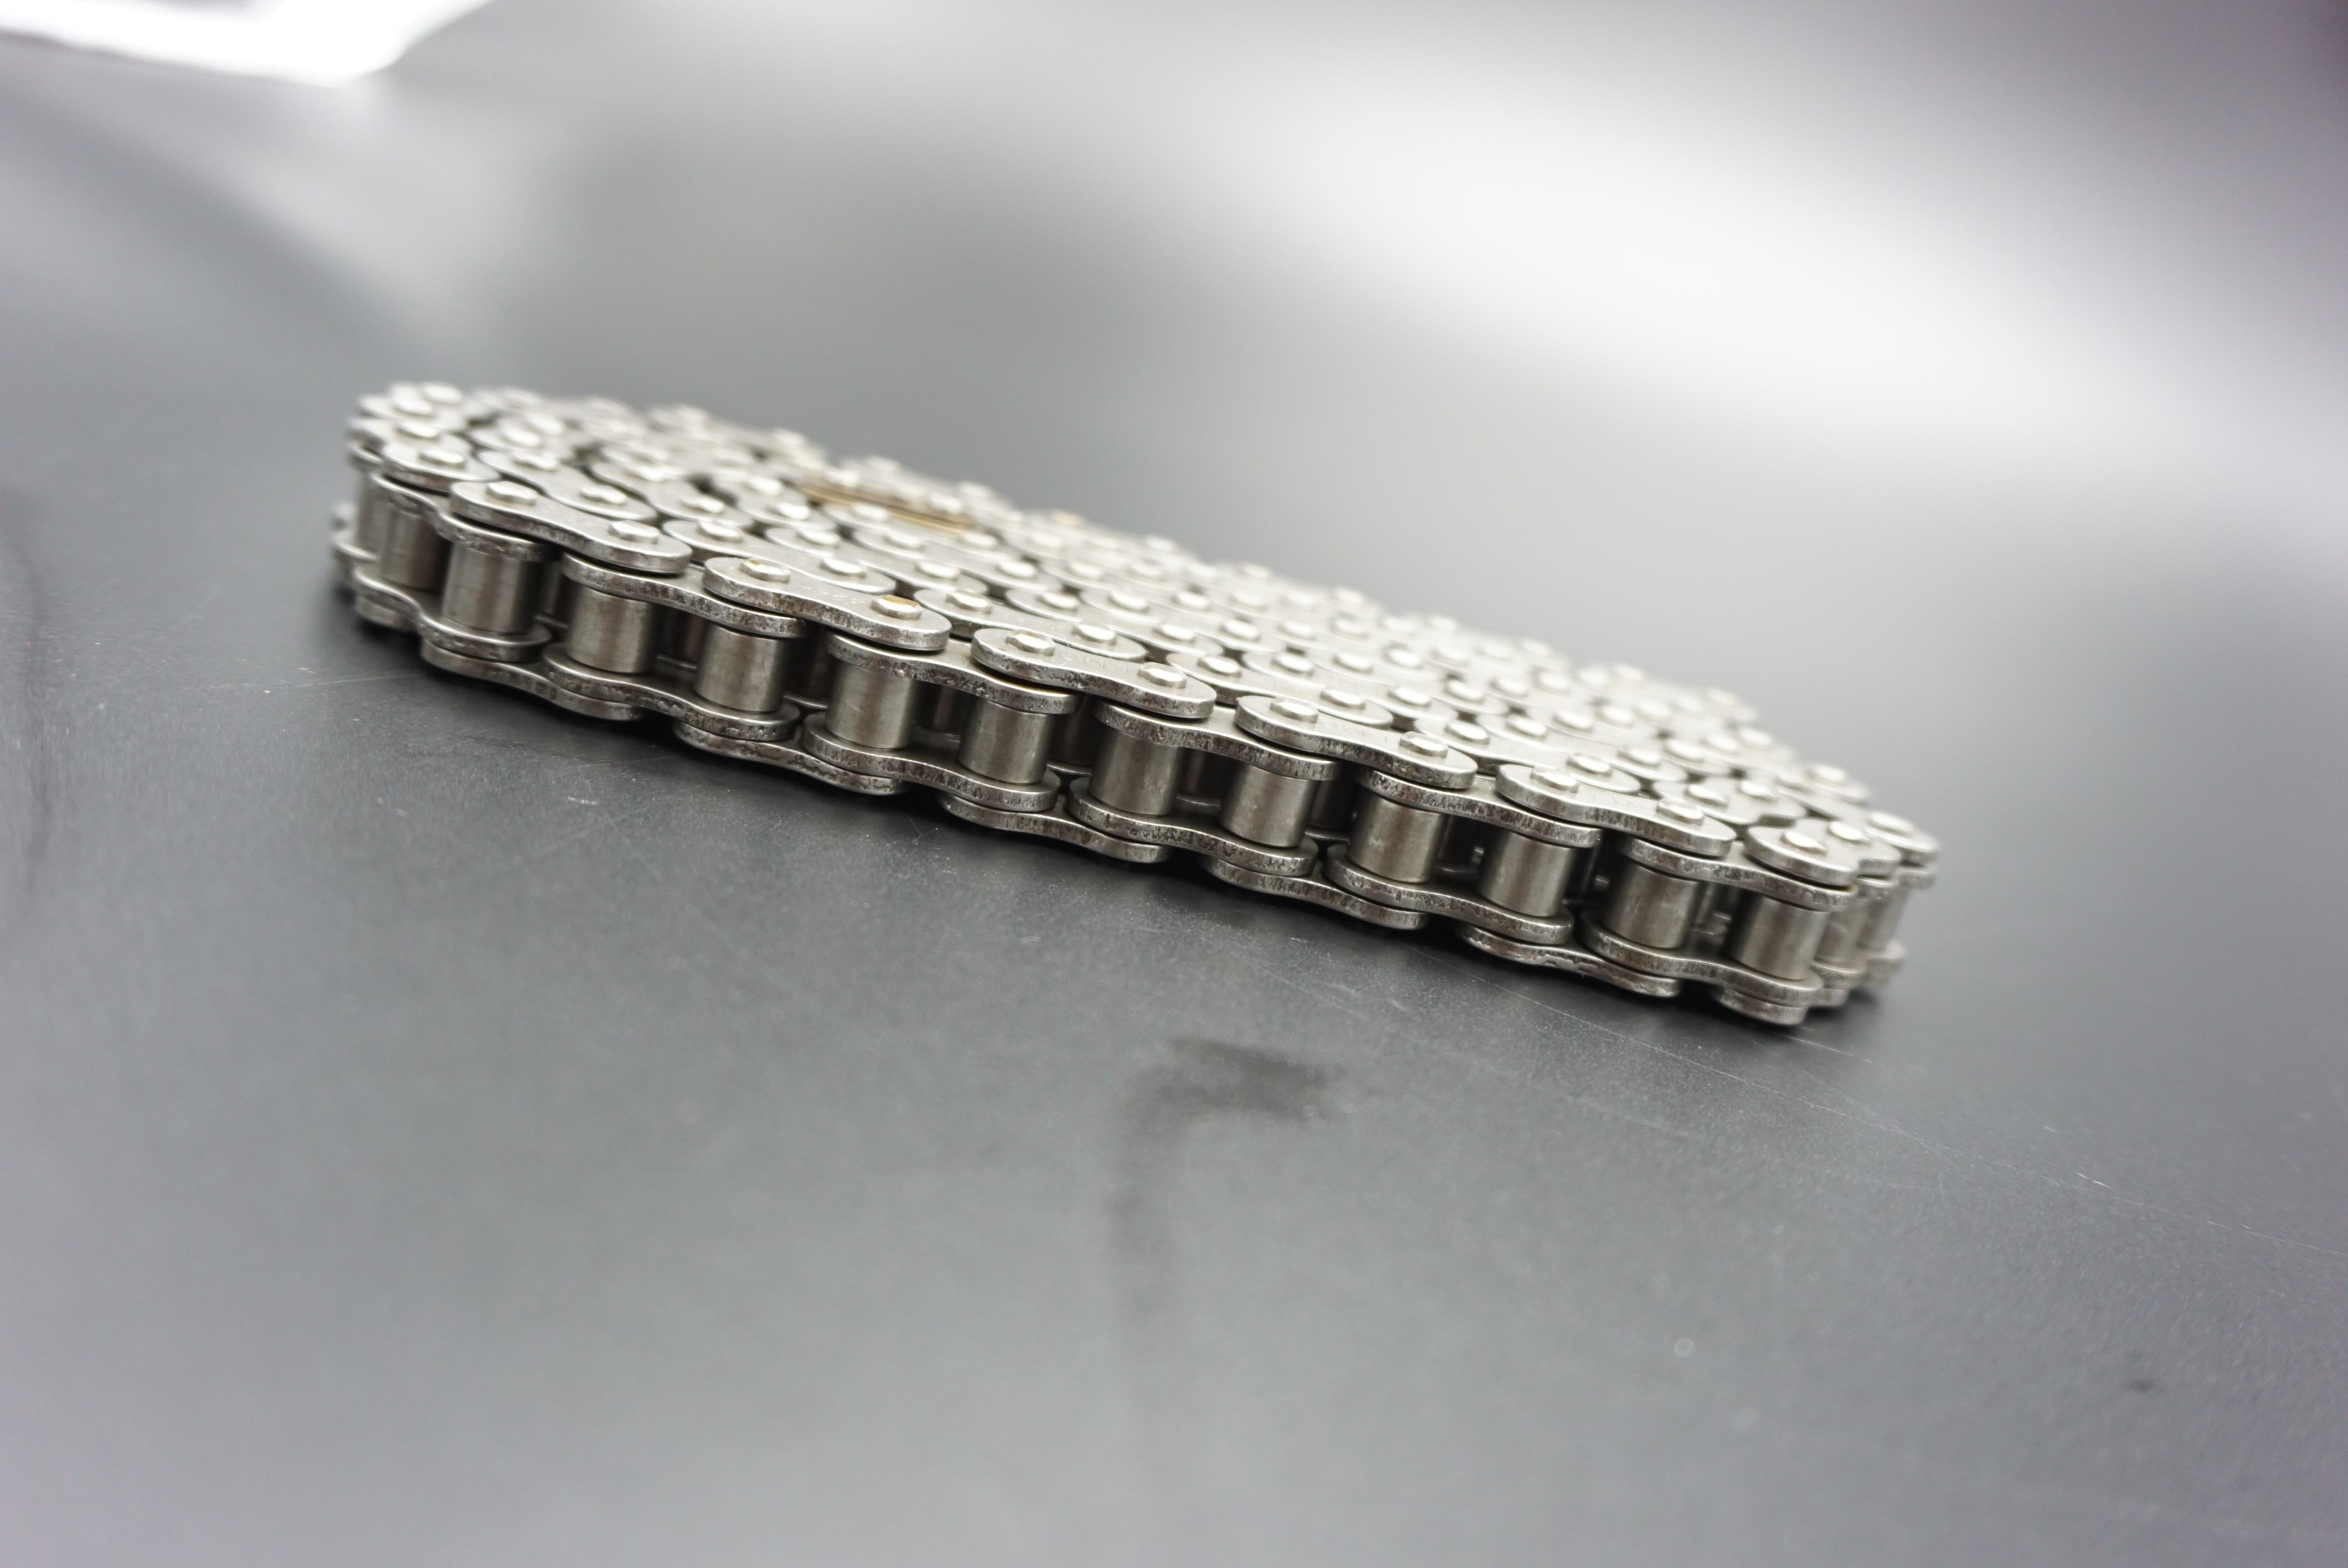
Thoroughly inspect the roller chain for any signs of wear or damage, such as elongation, loose pins, or bent plates. If any such problems are found, it is recommended to replace the chain to ensure accurate timing and prevent possible failure.
Step 3: Identify Correct Timing Marks
Look for the timing marks on the sprockets and chain. These small marks are usually engraved or painted on the sprocket’s teeth and provide reference points for chain timing. Find the corresponding mark on the chain and make sure the two line up exactly.
Step 4: Align Timing Marks
Rotate the crankshaft or drive sprocket until you see the desired timing mark and line up with the reference mark on the engine or transmission. Next, rotate the driven sprocket or camshaft until its timing mark lines up with the reference mark on the engine or cam cover.
Step 5: Measure the Chain Length
Use a caliper to measure the overall length of the roller chain to ensure it matches the recommended chain size for your application. Following manufacturer instructions or engineering specifications is critical for accurate length measurements.
Step 6: Adjust the chain length
If the chain length is not within acceptable limits, use a chain breaker tool to remove excess links and achieve the correct size. Be careful not to damage the rollers, pins or plates during this process as this may cause premature failure.
Step 7: Final Inspection and Lubrication
Once the timing is aligned and the chain length is correct, do a final inspection of the entire assembly. Make sure all fasteners are properly tightened and there are no obvious signs of misalignment. Apply a suitable lubricant to your chain to minimize friction and improve its performance.
Proper timing of a size 100 roller chain is critical to optimizing its functionality and durability. By following the step-by-step guide above, you can ensure precise synchronization between the chain and its sprockets, minimizing wear and extending the life of your roller chain system.
Post time: Aug-01-2023