Roller chains are an important component in many industrial applications, providing efficient power transmission and motion control. However, there are times when it is necessary to disassemble a roller chain master link for repair, cleaning or replacement. In this comprehensive guide, we’ll walk you through the step-by-step process of removing a roller chain master link, ensuring a smooth and hassle-free operation.
Step 1: Gather the Necessary Tools
Before starting the removal process, make sure you have the following tools at hand:
1. Pliers or Master Linkage Pliers
2. Socket wrench or wrench
3. Slotted screwdriver or chain breaker
Step 2: Prepare the Roller Chain
Start by placing the roller chain in a position with easy access to the master links. If necessary, loosen any tensioners or guides attached to the chain. This will minimize tension and make it easier to manipulate the master linkage.
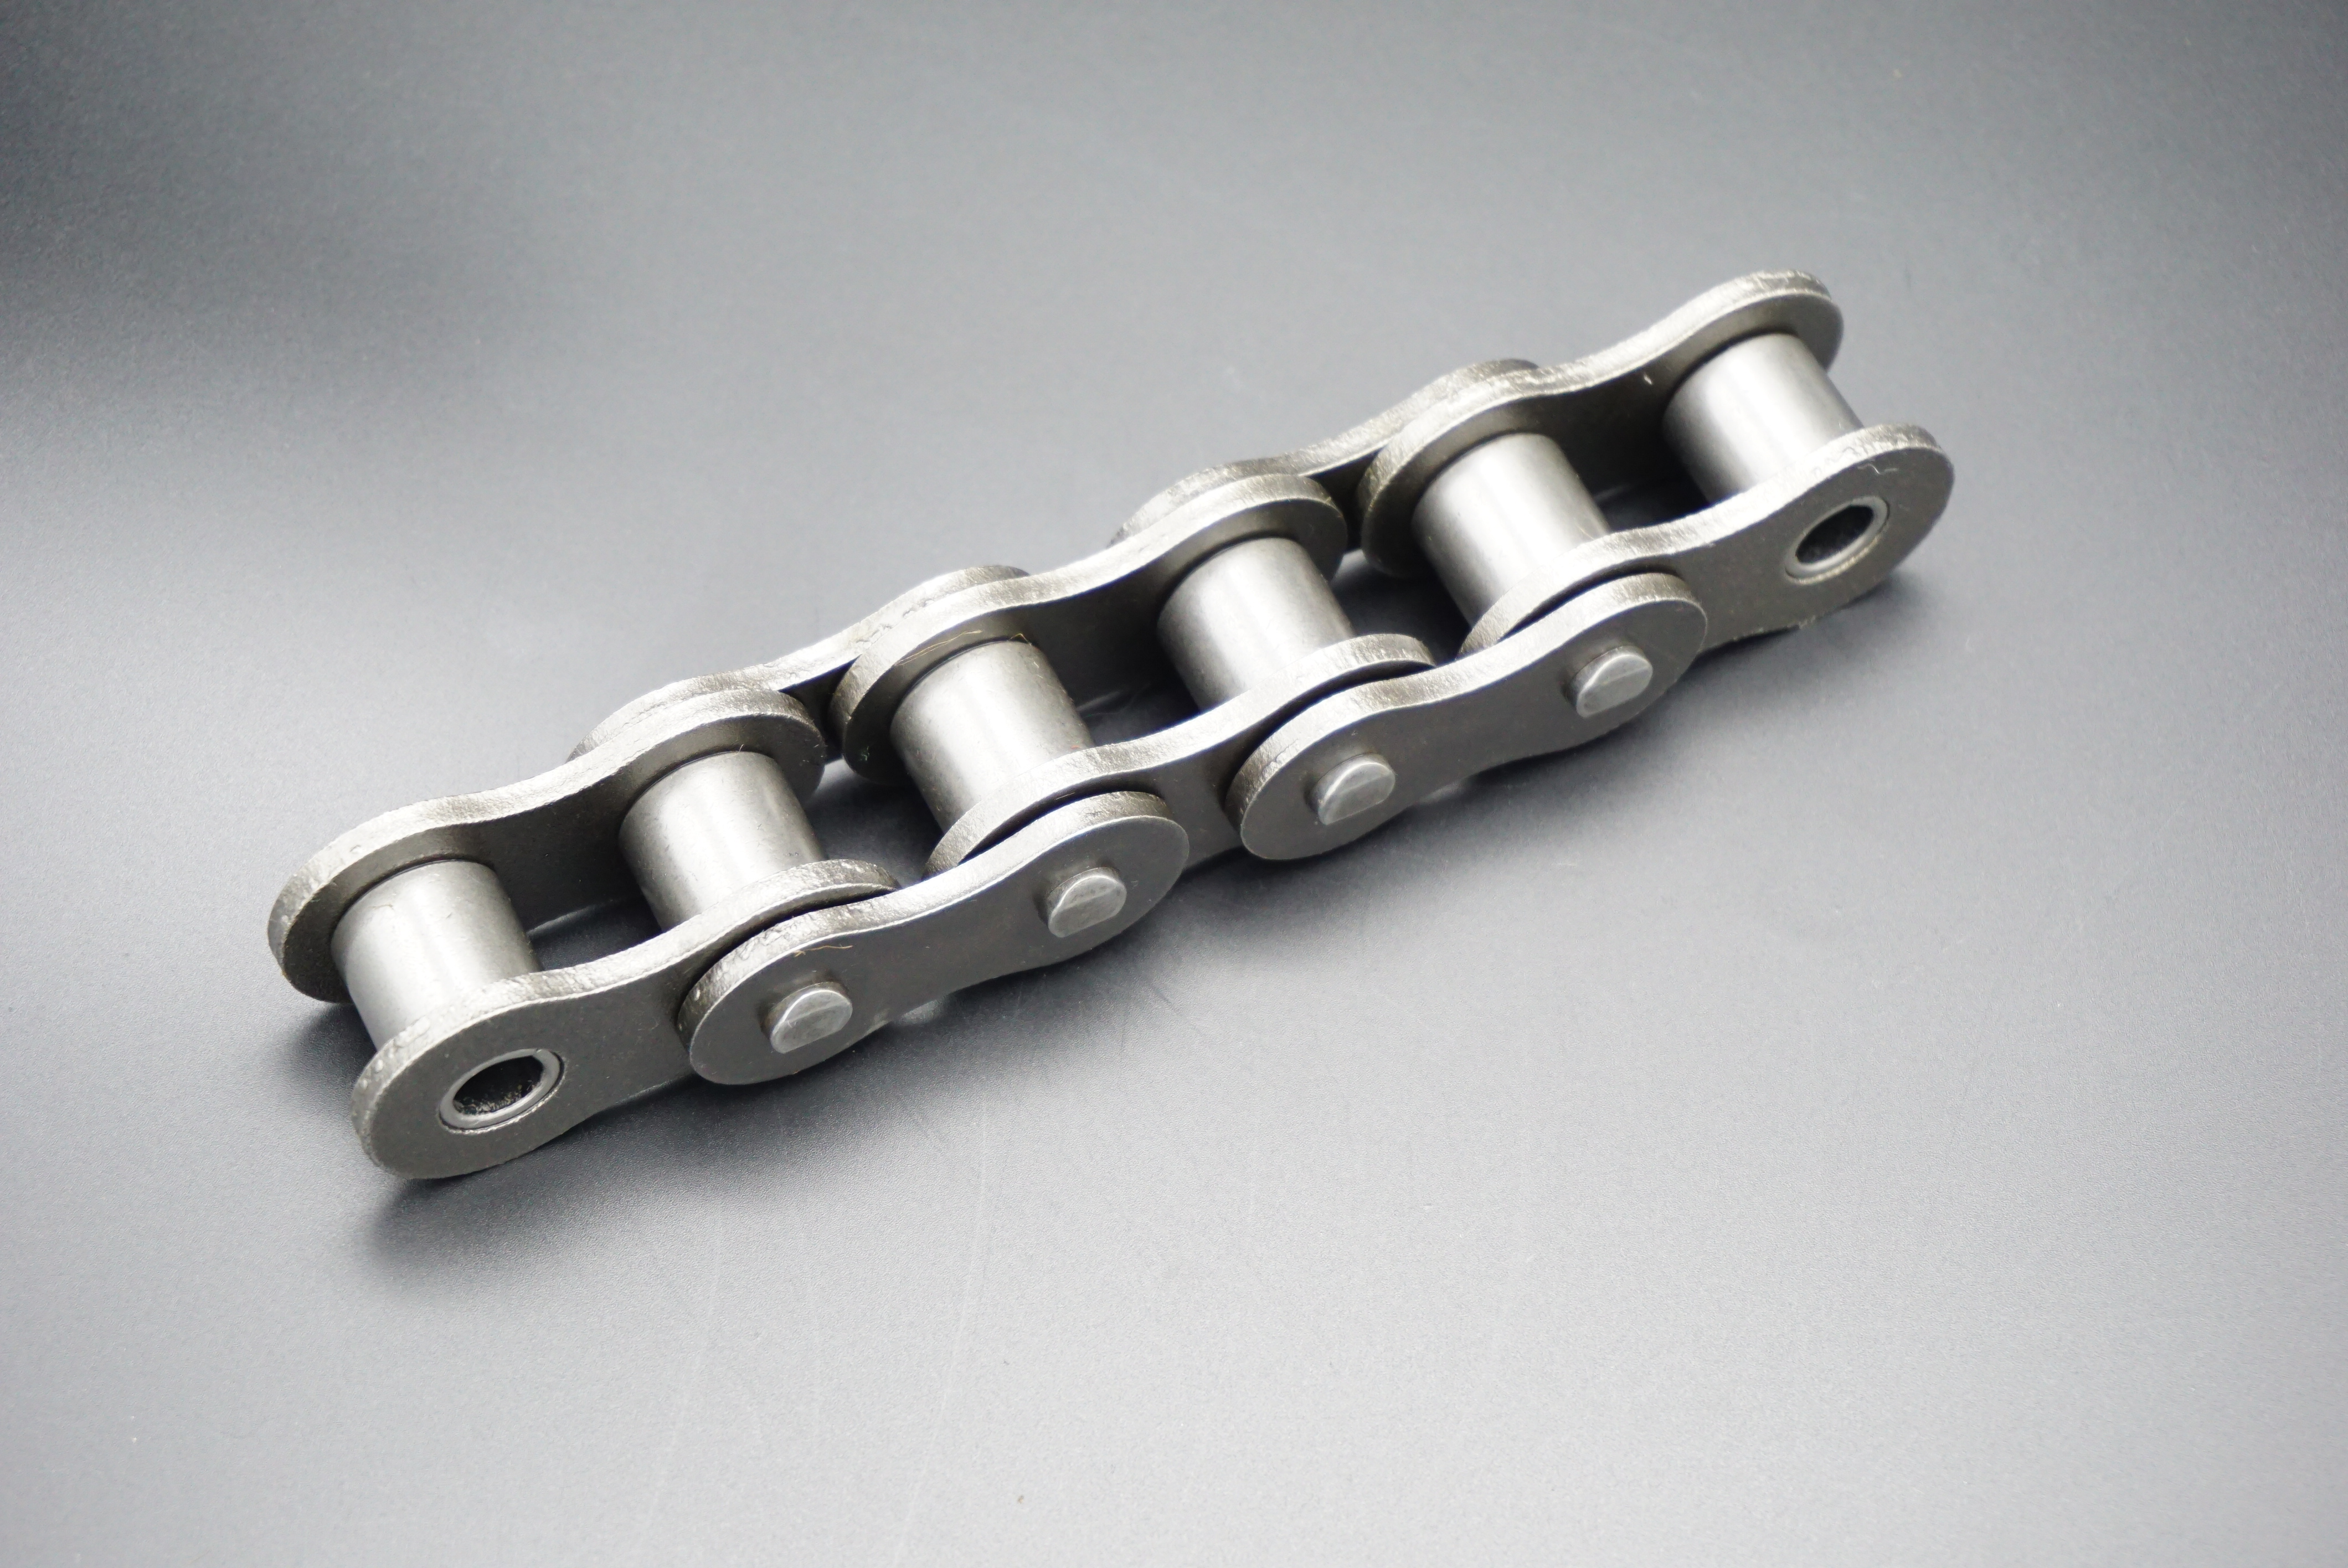
Step 3: Identify the main link
Identifying the primary link is critical to successful removal. Look for links with different features compared to the rest of the chain, such as clips or hollow pins. This is the main link that needs to be removed.
Step 4: Remove the Clip-on Master Link
For roller chains using clip-on master links, follow these steps:
1. Insert the tip of the pliers into the hole on the clip.
2. Squeeze the pliers handles to press the clips together and release tension on the master linkage. Be careful not to lose clips.
3. Slide the clip off the master link.
4. Gently separate the roller chain, pulling it away from the master links.
Step 5: Remove the Rivet Type Master Link
Removing a rivet-type master link requires a slightly different approach. In these order:
1. Place the chain breaker tool on the rivets connecting the master link to the roller chain.
2. Using a box wrench or wrench, apply pressure to the chain breaker to partially push the rivet out.
3. Rotate the chain breaker tool to reposition it over the partially removed rivet and apply pressure again. Repeat this process until the rivet is completely removed.
4. Gently separate the roller chain, pulling it away from the master links.
Step 6: Inspect and Reassemble
After removing the master links, take a moment to inspect the roller chain for any signs of wear, damage, or stretching. Replace chain if necessary. To reassemble a roller chain, follow the manufacturer’s instructions for installing new master links, either clip-on or riveted-on links.
in conclusion:
Removing a roller chain master link is no longer a daunting task. With the right tools and proper knowledge, you can confidently disassemble and reassemble your roller chain for scheduled maintenance or repair. Just remember to be careful during disassembly to avoid injury. By following the steps outlined in this guide, you will be able to efficiently remove roller chain master links and keep your industrial application running smoothly.
Post time: Jul-27-2023