Roller chains are an integral part of many machines, including the Viking Model K-2. Proper installation of roller chains is critical to ensuring smooth operation and preventing unnecessary wear. In this guide, we’ll walk you through the step-by-step process of installing roller chain on your Viking Model K-2, giving you valuable insights and tips for optimal performance.
Step 1: Gather the Necessary Tools
To start the process, gather all the tools you will need. You will need a wrench or wrench, a pair of pliers, a chain breaker or master link (if necessary), and a suitable lubricant for the roller chain.
Step 2: Check the chain
Before installing roller chain, thoroughly inspect it for any signs of damage, such as broken or bent links, excessive wear, or stretched sections. If any problems are found, the chain must be replaced with a new one.
Step Three: Relax the Tension
Next, locate the tensioner on the Viking Model K-2 and use a wrench or wrench to loosen it. This will create enough slack to connect the roller chain.
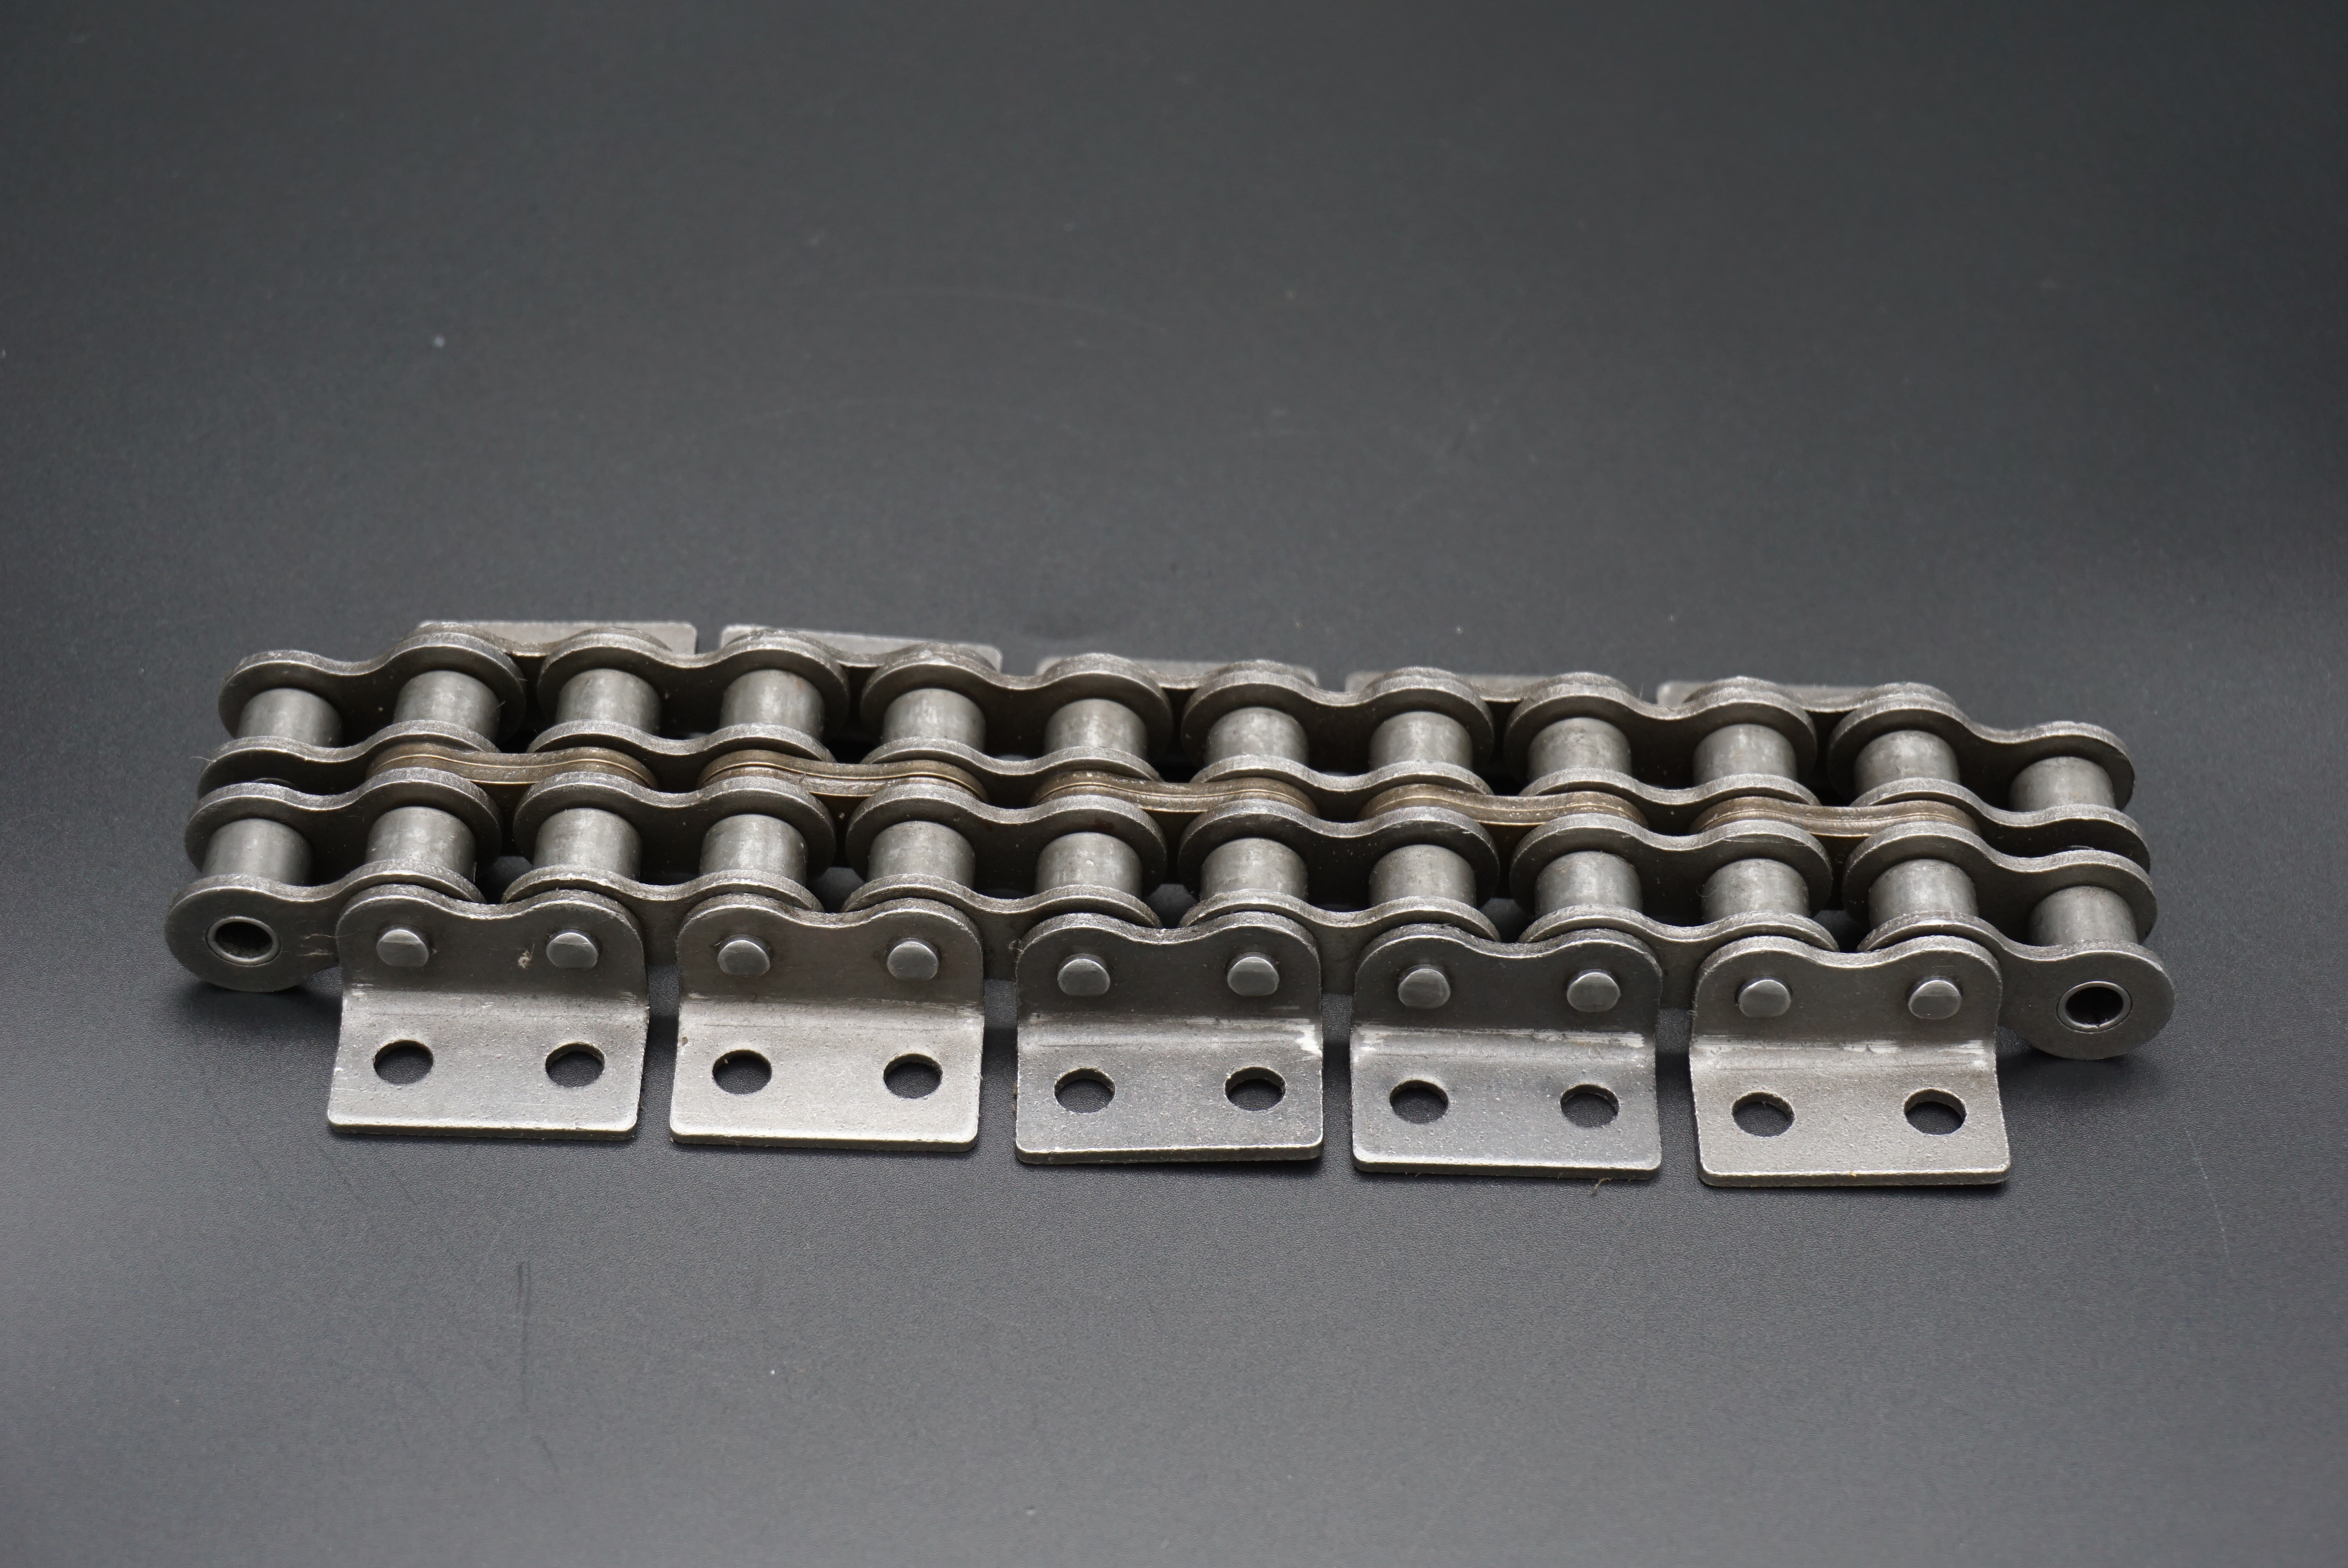
Step 4: Connect the Chain
Start by placing the roller chain around the sprocket, making sure the teeth fit precisely into the links of the chain. If the roller chain has no master links, use a chain cutter to remove excess links until the desired length is reached. Or, if you have a master link, attach it to the chain according to the manufacturer’s instructions.
Step 5: Adjust Tension
After connecting the chain, adjust the tensioner to remove any excess slack in the chain. Be careful not to overtighten as this may cause premature wear and loss of power. The correct tension can be achieved by applying light pressure to the middle of the chain, the chain should deflect slightly.
Step 6: Lubricate the Chain
Proper lubrication is critical to the long-lasting performance of roller chains. Use a suitable roller chain lubricant to ensure smooth operation and reduce friction between moving parts. Be sure to follow the manufacturer’s recommendations for lubrication intervals.
Step 7: Check for proper alignment
Check the alignment of the roller chain by observing the position on the sprockets. Ideally, the chain should run parallel to the sprockets without any misalignment or excessive bounce. If misalignment exists, adjust tensioner or sprocket position accordingly.
Step 8: Do a test run
After installing the roller chain, give the Viking Model K-2 a test run to make sure everything is working properly. Monitor the machine for any unusual noises, vibrations, or irregularities that could indicate a potential problem with the chain installation.
Proper installation of roller chain on the Viking Model K-2 is critical to optimizing the machine’s performance and durability. By following this step-by-step guide, you can ensure that your roller chain is installed safely and accurately, keeping your Viking Model K-2 running smoothly and efficiently. Regular inspection, lubrication and maintenance are essential to keep your roller chain in good condition and extend its life.
Post time: Jul-26-2023