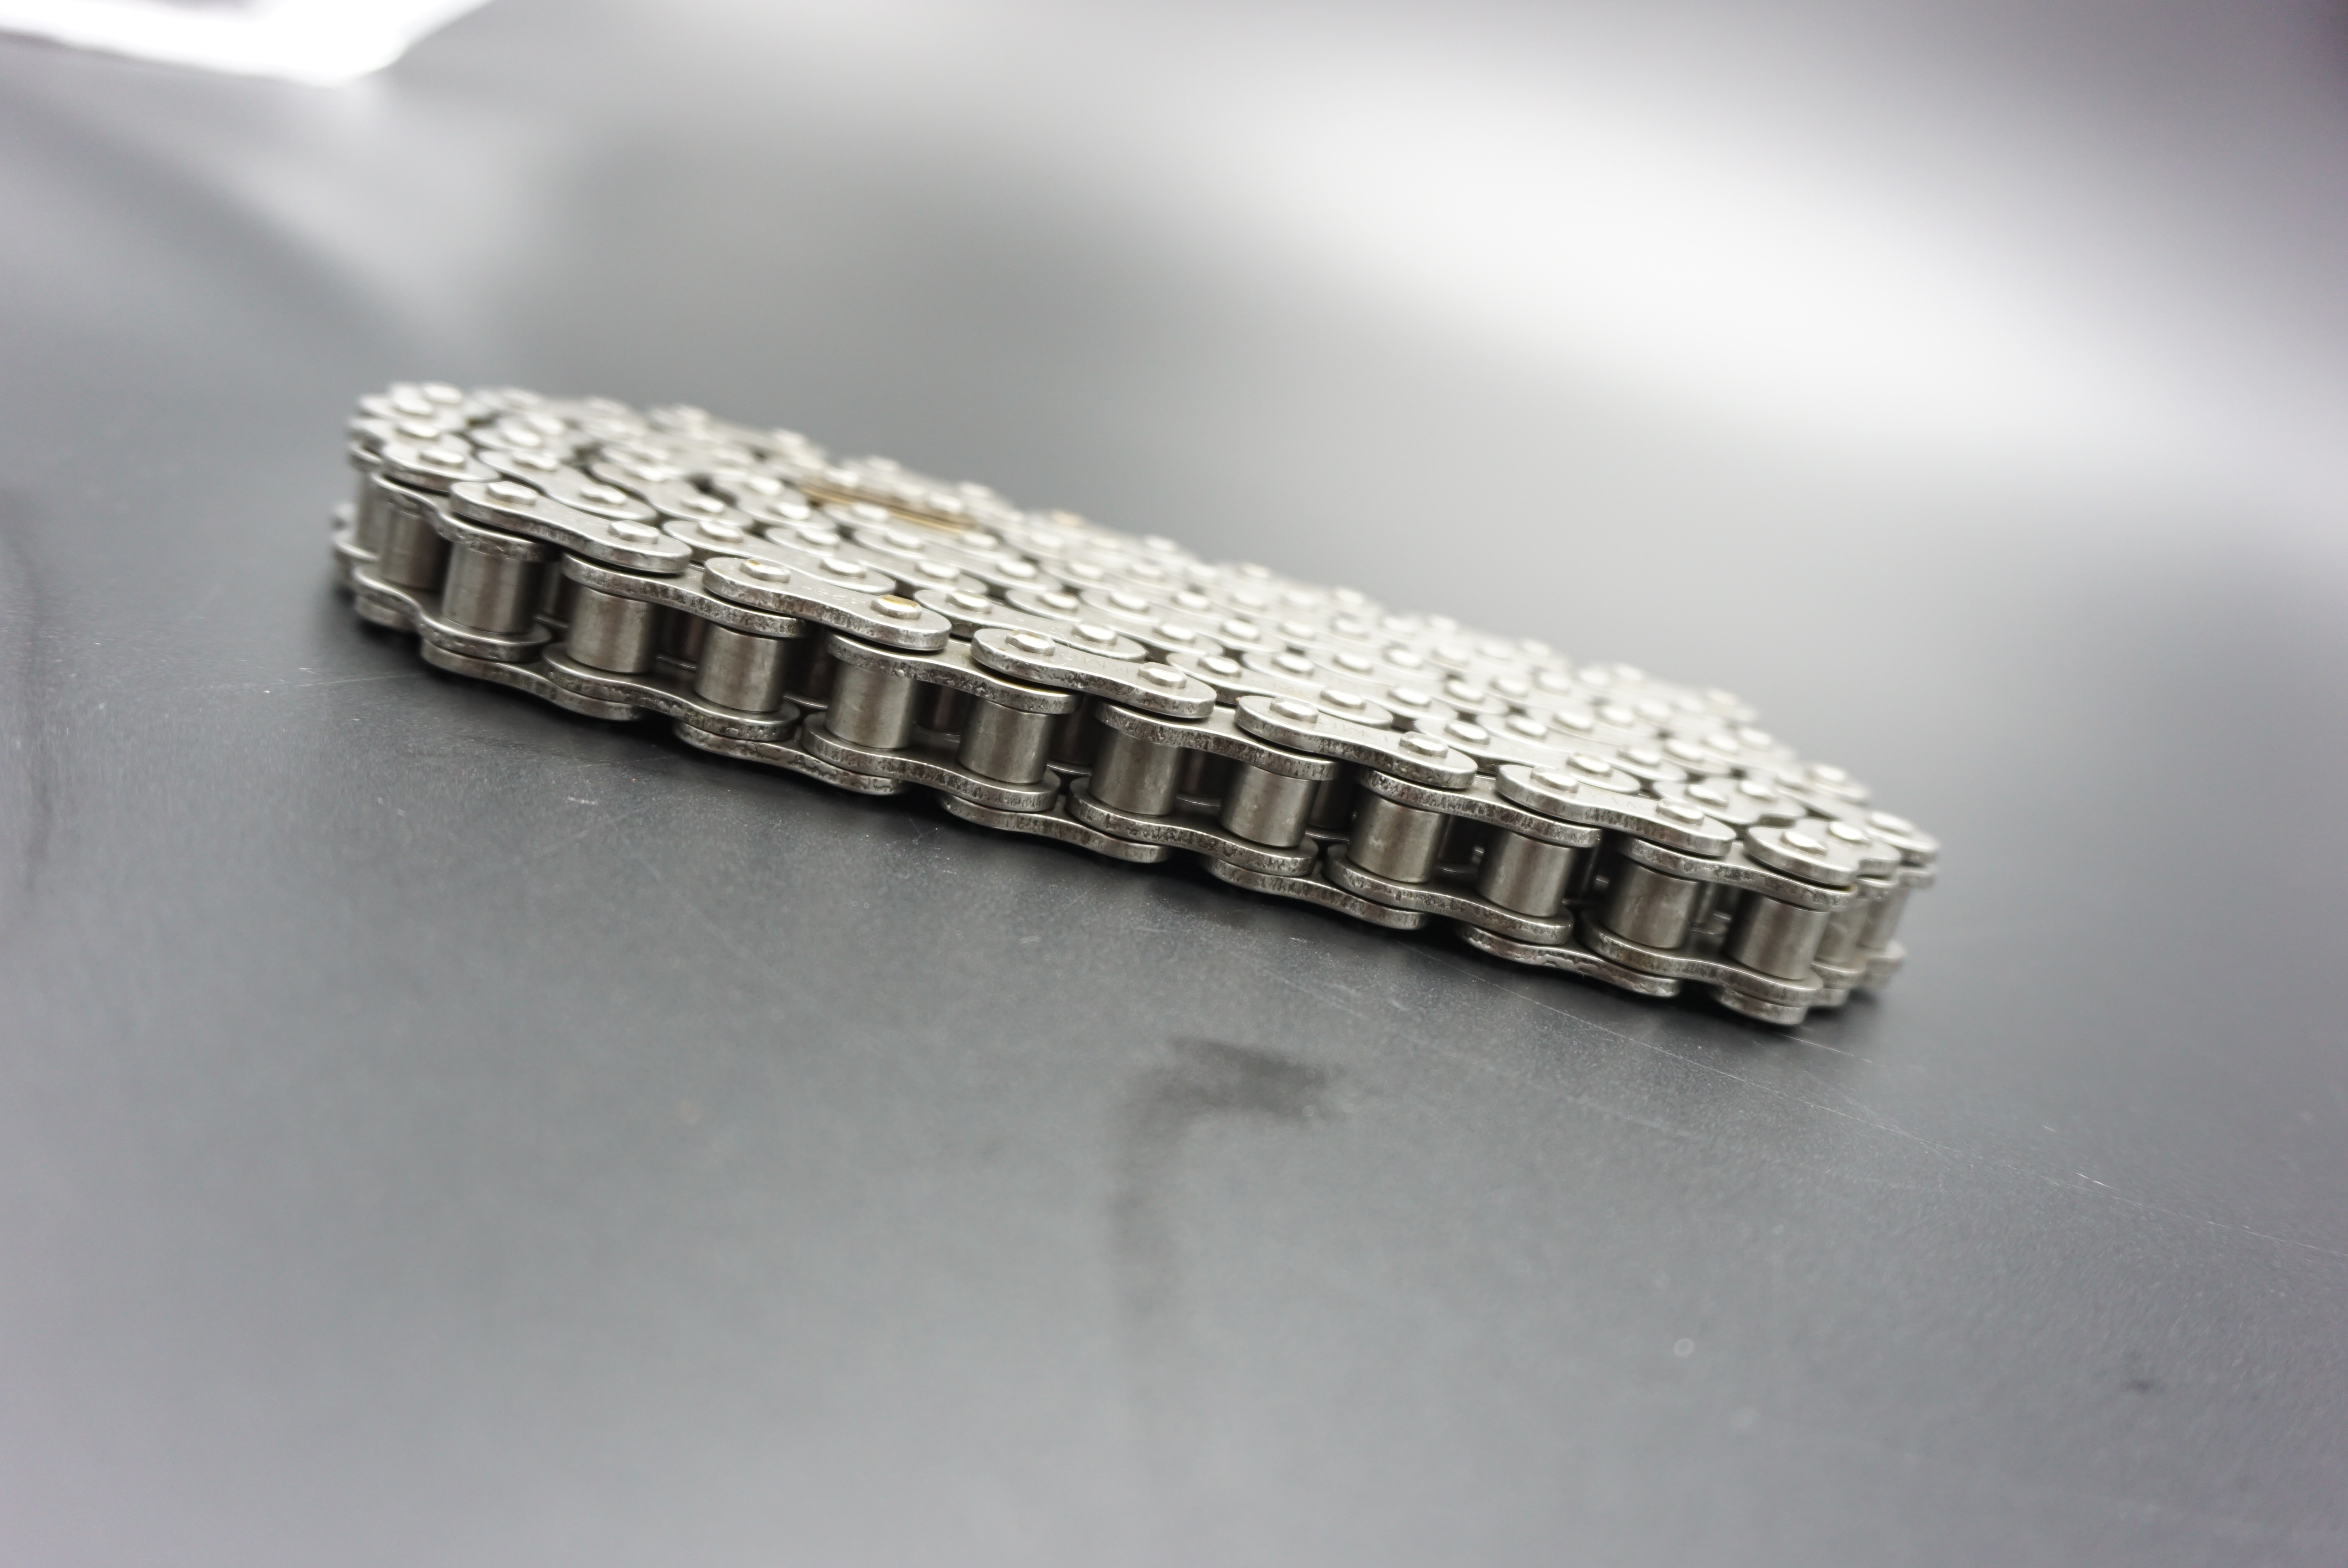
SolidWorks is a powerful 3D computer-aided design (CAD) software widely used in engineering and product design. SolidWorks has numerous capabilities that allow users to create complex mechanical components such as roller chains with precision and ease. In this blog post, we will walk you through the steps required to create a roller chain using SolidWorks, ensuring you have a thorough understanding of the process.
Step 1: Setting Up the Assembly
First, we create a new assembly in SolidWorks. Start by opening a new file and selecting “Assembly” from the Templates section. Name your assembly and click OK to continue.
Step 2: Design the Roller
In order to create a roller chain, we need to first design a roller. First select the New Part option. Use the Sketch tool to draw a circle of the desired wheel size, then extrude it with the Extrude tool to create a 3D object. When the drum is ready, save the part and close it.
Step 3: Assemble the Roller Chain
Go back to the assembly file, select Insert Component and select the roller part file you just created. Place the scroll wheel where you want it by selecting its origin and positioning it with the Move tool. Duplicate the roller several times to create the chain.
Step 4: Add constraints
To make sure the scroll wheel is connected correctly, we need to add constraints. Select the two wheels next to each other, and click Mate in the assembly toolbar. Select the Coincident option to ensure the two scroll wheels are properly aligned. Repeat this process for all adjacent rollers.
Step 5: Configure the chain
Now that we have our basic roller chain, let’s add some more details to make it resemble a real life chain. Create a new sketch on any roller face and use the Sketch tool to draw a pentagon. Use the Boss/Base Extrude tool to extrude the sketch to create protrusions on the roller surface. Repeat this process for all rollers.
Step 6: Final touches
To complete the chain, we need to add interconnects. Select two adjacent protrusions on different rollers and create a sketch between them. Use the Loft Boss/Base tool to create a strong interconnection between the two rollers. Repeat this step for the remaining adjacent rollers until the entire chain is interconnected.
Congratulations! You have successfully created a Roller Chain in SolidWorks. With each step explained in detail, you should now feel confident in your ability to design complex mechanical assemblies in this powerful CAD software. Remember to save your work regularly and try SolidWorks further to unlock its full potential in engineering and design projects. Enjoy the journey of creating innovative and functional models!
Post time: Jul-24-2023