Roller chains are an integral part of a wide variety of machinery and equipment, providing a reliable means of power transmission. However, regular maintenance is essential to ensure its peak performance. Eventually, the links may need to be removed from the roller chain. In this guide, we’ll walk you through the process of link removal, giving you the knowledge and skills you need to keep your roller chain in top condition.
Step 1: Gather Tools
To successfully remove links from a roller chain, you will need the following tools:
1. Roller Chain Breaker Tool: This special tool will help you gently push out the chain pins.
2. Wrench: Choose a wrench that fits the nuts that hold the chain to the machine.
3. Safety equipment: Wear gloves and goggles to protect yourself throughout the process.
Step Two: Positioning
Before proceeding, make sure the machinery attached to the roller chain is turned off and the chain is cool enough to operate. Use a wrench to loosen and remove the nuts holding the chain in place, allowing it to hang freely.
Step 3: Identify Connection Links
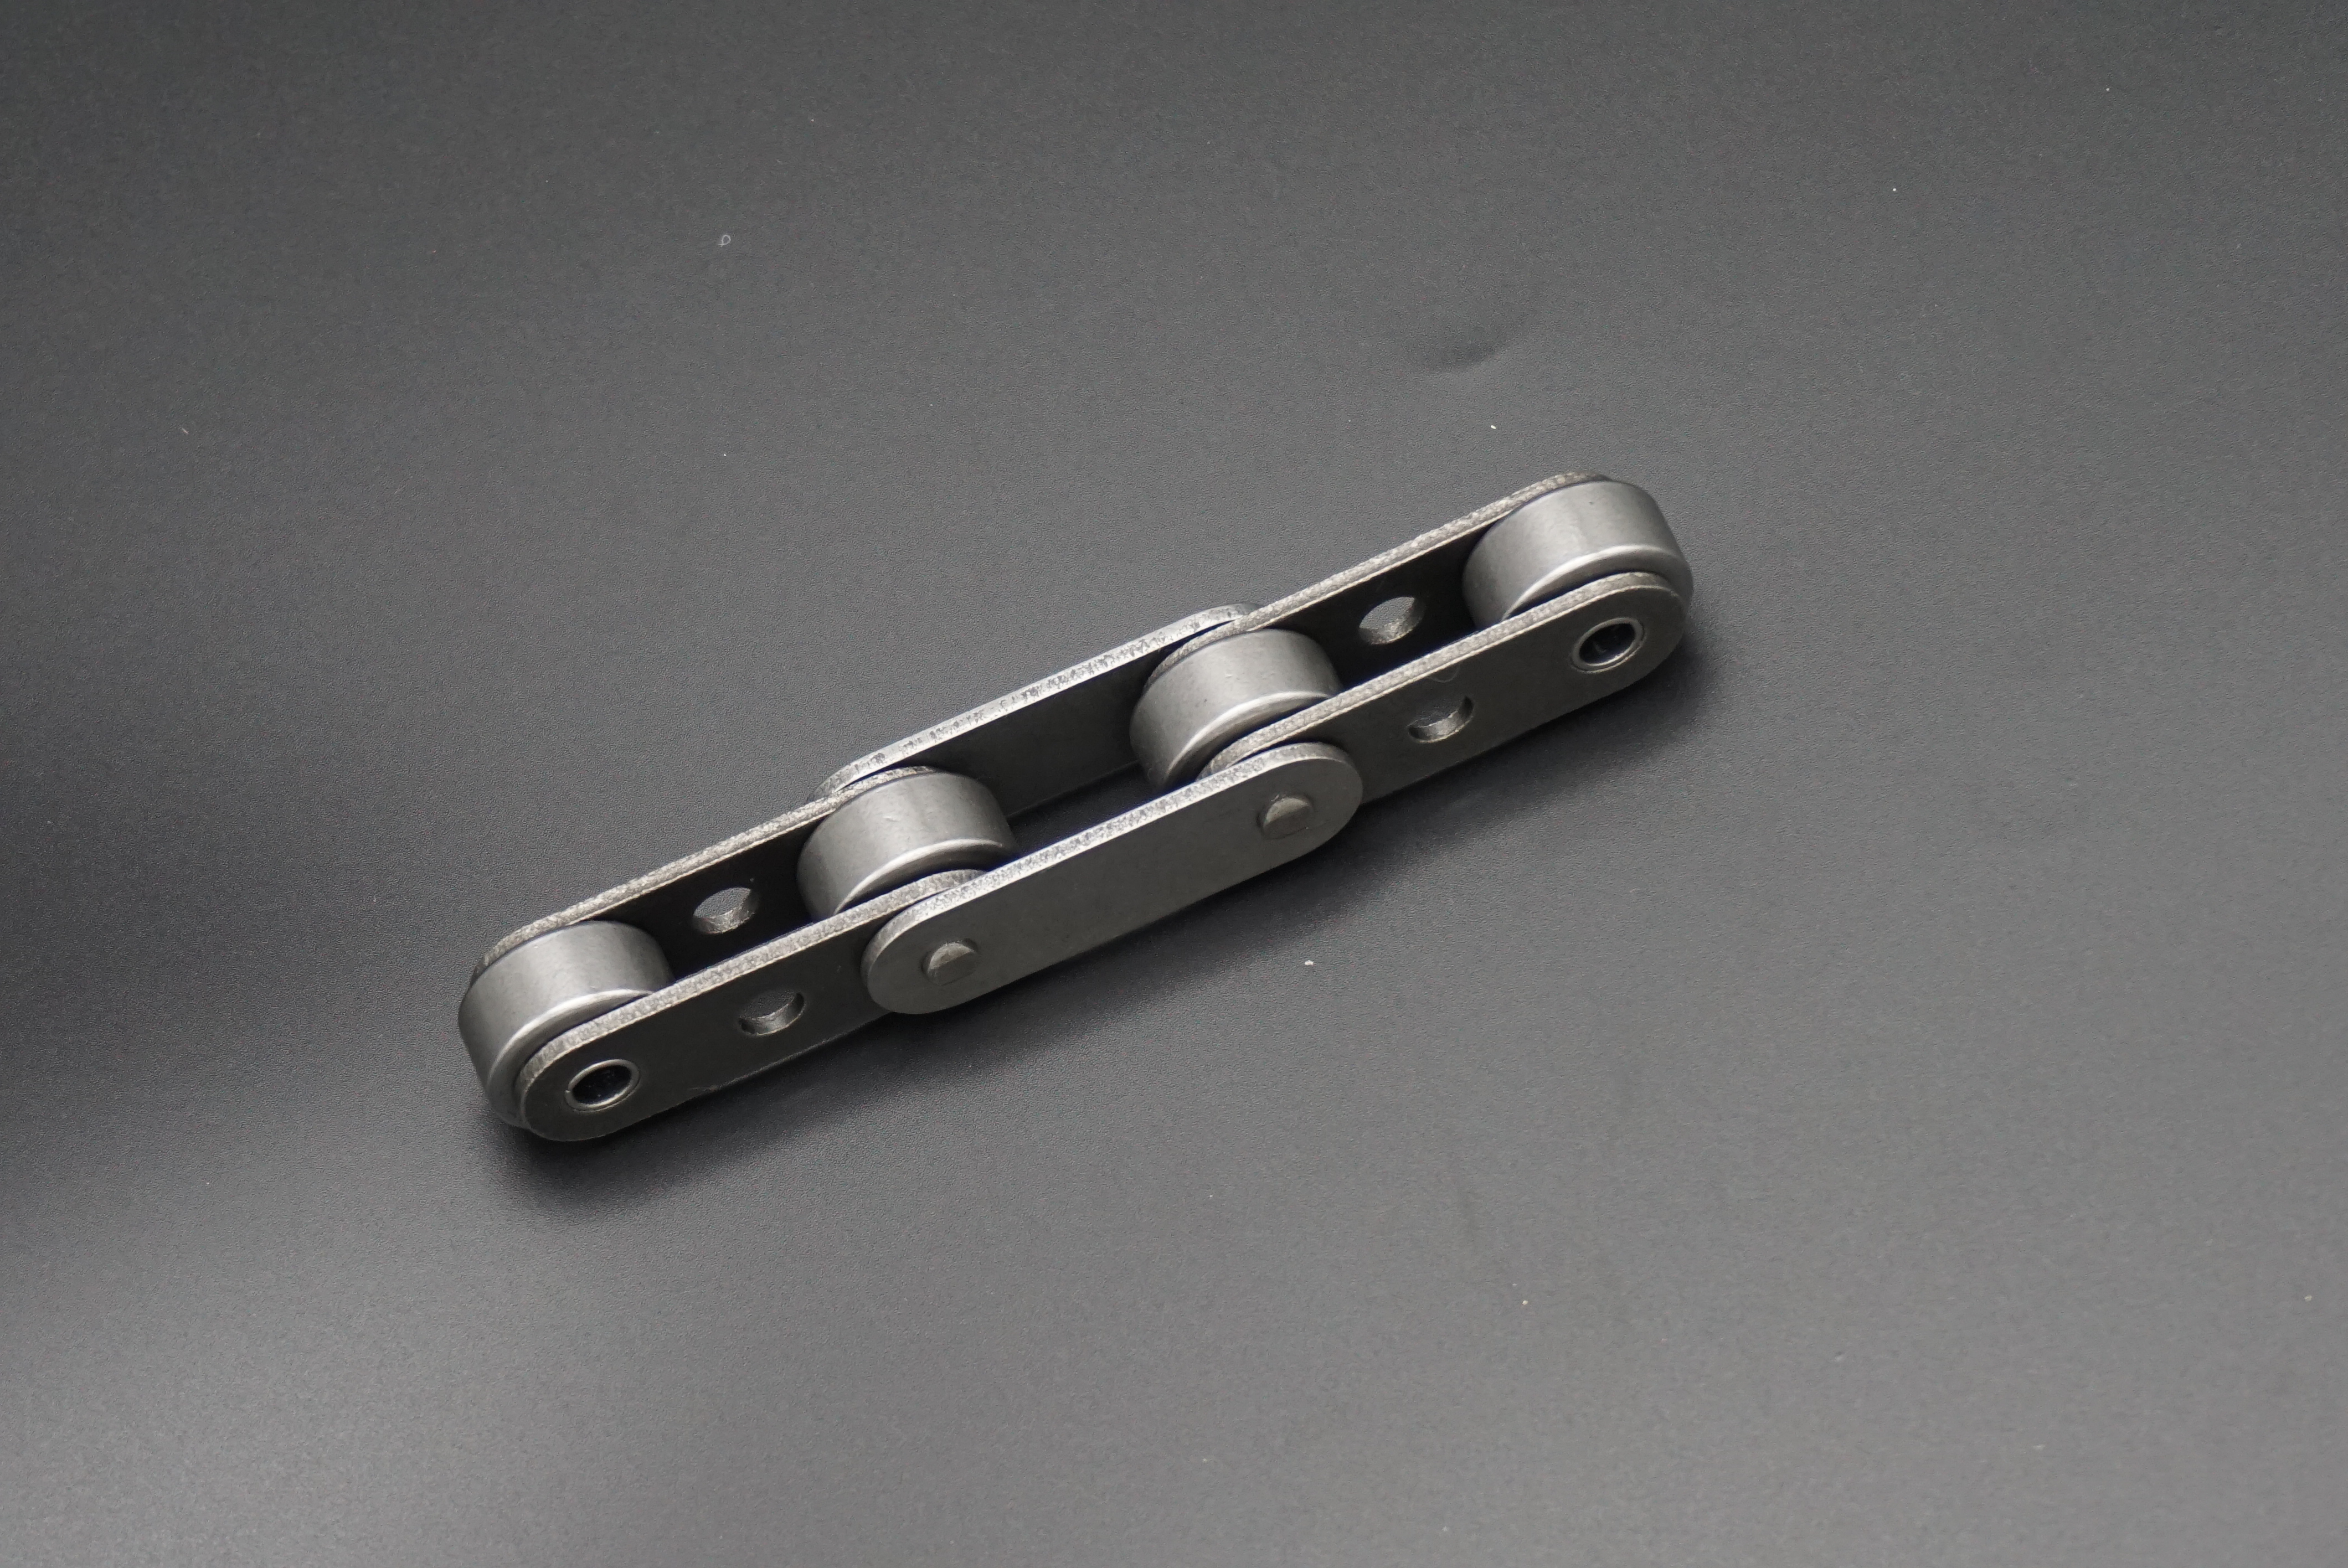
Each roller chain has a connecting link, also known as a master link, that has a clip or retaining plate. Find this link by examining the chain and identifying the unique connector design.
Step 4: Break the Chain
Place the roller chain breaker tool on the connecting link so that the tool’s pins line up with the chain’s pins. Slowly rotate the handle or press down on the tool until the pin begins to push out. Continue to apply pressure until the pin is pushed out all the way, separating the roller chain.
Step 5: Remove the link
After the chain is separated, carefully slide the connecting link off the roller chain. This will result in open ends on the chain, which can be reattached after removing the required number of links.
Step 6: Remove unwanted links
Calculate the number of links that need to be removed for the intended purpose. Using the roller chain breaker tool again, line up its pin with the pin of the selected link. Apply pressure slowly until the pin is partially pushed out. Repeat this step on the other side of the same link until the pin is fully pushed out.
Step 7: Detach Links
Once the pin is fully pushed out, separate the required number of links from the rest of the chain. Put those links aside and make sure to put them away safely to avoid losing any important components.
Step 8: Reattach the Chain
After removing the required number of links, the roller chain can be reattached. Take out the open end of the chain and the connecting link you removed earlier. Align the pins connecting the links with the corresponding holes in the roller chain, securing the position of the retaining plate or clip (if applicable).
Step 9: Locking the Chain
To secure the connecting link in place, push the pin back through the chain hole. Make sure the pins are properly aligned and protrude evenly from both sides. For clip-type connecting rods, insert and hold the clip in the correct position.
Step 10: Secure the Chain
Once the chain is back in place, use a wrench to tighten the nuts and secure the roller chain to the machine. Make sure the chain is properly tensioned and aligned to avoid any potential problems during operation.
By following these ten steps, you have successfully learned how to remove links from a roller chain. Regular maintenance, such as adjusting chain lengths, is essential to keep your machine running smoothly. Remember to prioritize safety and follow manufacturer guidelines throughout the process. With practice, you’ll develop the skill and prolong the life of your roller chain, saving you time and money in the long run.
Post time: Jul-29-2023